Android Auto recently made its way to phones, eliminating the need for a $1000+ head unit to get its road-friendly features. And while you can set Auto to automatically launch when a specific Bluetooth device (like your car) is connected, what about those who may not have a Bluetooth-enabled car stereo? NFC is the answer.
NFC---or Near Field Communication--- is a simple but relatively modern technology that allows phones to communicate wirelessly with just with a tap. Two NFC-equipped phones can send data to each other this way, but it's more commonly used with NFC "tags": small programmable chips that make it incredibly easy to share data or launch activities. NFC is also used for Android Pay (and Apple Pay for iOS users). NFC chips are incredibly inexpensive, with bundles of 10-12 usually going for around $8 to $10. That's a lot of utility for not a lot of money.
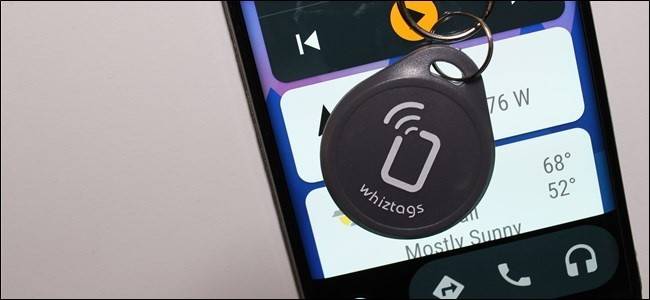
One very cool, yet very simple thing you can do to make your life easier is write Android Auto to an NFC tag---an NFC key chain would be great for this---so you can instantly launch it as soon as you get in the car. If you have a dock for your phone, you could even write this data to a tag and stick it to the dock---this way, as soon as you drop your phone in the dock, boom: Auto pops up on the screen.
Once you have your tags in-hand, you'll need to install an app that can write to the tag. We'll be using NFC Tools for this tutorial, as it's easy to use and full-featured.
With the app installed, go ahead and launch it. A tutorial explaining NFC will start---if you're curious about NFC, read it. It's helpful! After the tutorial, you're going to need to erase your tag. Tap the "Other" tab in NFC Tools, then tap the "Erase Tag" option.

It will start looking for a tag here---just rub the tag around on the back of your phone till it gives some sort of audible notification. The NFC chip is located in different places on different phones, so you may have to fiddle with it a bit before you find yours. Once the tag has been erased, the app will give a notification.


Now that the tag is clean and ready for data, move over to the "Write" tab. This is where you'll set everything up to add Android Auto to the tag. Tap the "Add record" button to get started. There are a slew of different options here (all things you can do with NFC!), but you're looking for one in particular: Application. Find that option (it's closer to the bottom of the list) and tap it.


The next screen will prompt you to "Enter your package name," but I can't imagine most users know the exact name of what they're looking for, so instead tap the icon next to the text box. This will launch a list of all the installed applications. Find Android Auto and tap it.


With Auto selected, tap the "OK" button at the bottom.
Now, you can add more functions here if you'd like. For example, you can have the tag automatically disable Wi-Fi and enable Bluetooth alongside launching Android Auto. Just tap the "Add a record" button to add more functionality. For the sake of this tutorial, however, we're going to stick with just launching Auto.
With everything set and ready to go, tap the "Write" button. The same dialog from earlier (when you were erasing the tag) will appear. Tap the tag on the phone again. Once again, a notification will show up once it's finished writing---this will only take a split-second.


That's it! Now all you have to do is tap your phone on the tag (with the display on, of course), and Android Auto will launch instantly. Handy!